
Short installation guide
Introductions
This document contains the description of installation for Urbano 11. Before installing Urbano, appropriate Autodesk platform must be properly installed and licensed on the computer, since Urbano is not standalone application and it needs the platform to function – AutoCAD / Civil 3D, MAP. Of course, appropriate Operating system must be properly installed as well.
Before installing Urbano, please run Autodesk application at least once (AutoCAD / Civil 3D, MAP ). Otherwise, the program will not be able to run properly.
Reccomended operating systems are Windows 10 and Windows 11. Support for particular operating system is related with the version of Autodesk platform that you use. From version 2019 on, following operating systems are supported: Windows 7 SP1, 8, 8.1, 10 i 11, 64-bit versions only.
Supported AutoCAD versions
Urbano 11 supports following AutoCAD versions:
- AutoCAD / Civil3D / MAP 2023
- AutoCAD / Civil3D / MAP 2022
- AutoCAD / Civil3D / MAP 2021
- AutoCAD / Civil3D / MAP 2020
- AutoCAD / Civil3D / MAP 2019
Installation procedure
- Run AutoCAD / Civil3D / MAP at least once before you run Urbano installation
- Unpack (Unzip) Urbano installation (right click: unzip)
- Run the installation "AS ADMINISTRATOR"
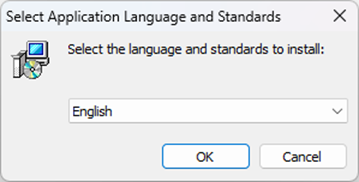
- Program will prompt you to select language – it is the language of the program, so please select the one that you want to see inside the program:
- Start the installation - click NEXT >
- Read Terms and conditions statement and accept them to continue with the installation process; click NEXT >
- Read License agreement and accept it to continue with the installation process; click NEXT >
- Program will show name and location of the installation folder - you can change it if you like
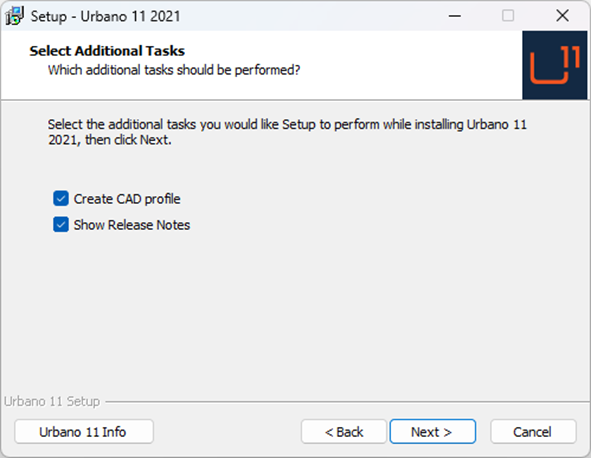
- When it comes to this part, include the options as on picture:
- Wait for the installation procedure to finish. After the installation, Profile Creator will pop up – it helps you to place Urbano in AutoCAD and create shortcut:
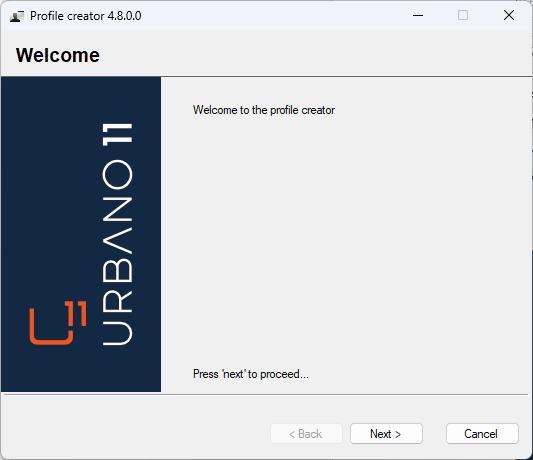
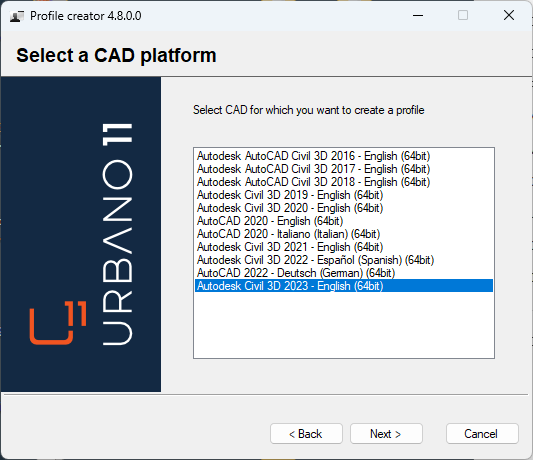
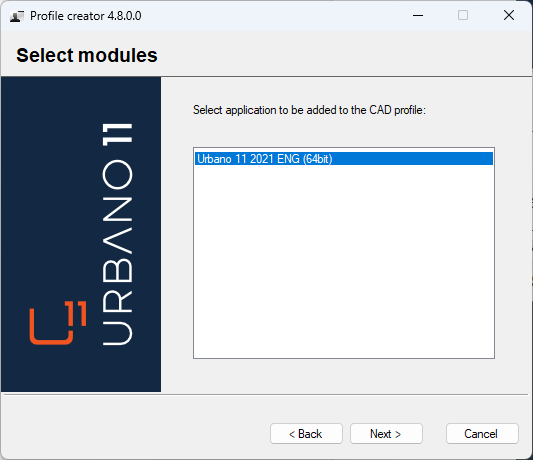
- Click NEXT > and select AutoCAD product version that you want to use Urbano with, click NEXT > again:
- Select appropriate Urbano version:
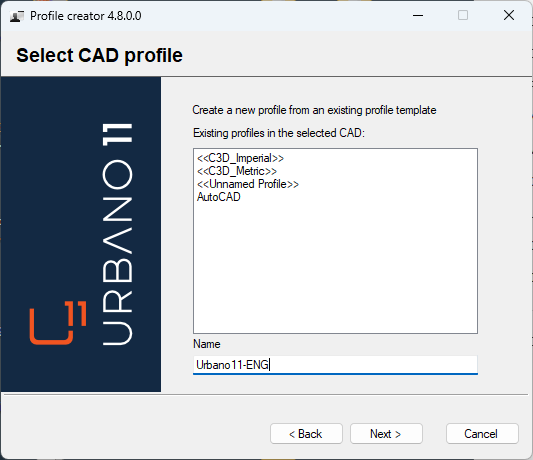
- Select default profile <<C3D_Metric>> for Civil3D, or <<Unnamed Profile>> for AutoCAD, and type Urbano profile name - program will create new profile for Urbano based on the default Civil3D / AutoCAD profile, and this way you will get special Urbano shortcut on your Desktop:
- Click NEXT >. Select the option “Create desktop shortcut”.
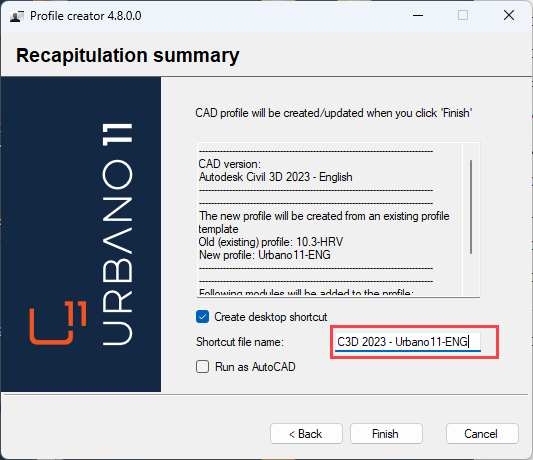
- Shortcut for Urbano profile on AutoCAD /Civil 3D / MAP will be created on your Desktop, and it will be shown with Urbano icon:

Was this article helpful?
That’s Great!
Thank you for your feedback
Sorry! We couldn't be helpful
Thank you for your feedback
Feedback sent
We appreciate your effort and will try to fix the article